In one of my previous tutorials, I taught you how you can send and receive JMS messages with Queues in TIBCO. In this tutorial, you will learn how to use EMS Topic based messaging in TIBCO.
Before I start with the practical steps, let’s have some basic understanding of how TIBCO EMS topics work?
TIBCO EMS topic based messaging works on Publish Subscribe mechanism where messages are published by the EMS Publishers to specific topics on EMS Server. For any topic defined on EMS Server, there can be any number of subscribers who receive these messages.
In topic based publish subscribe messaging; there can be multiple publishers and multiple subscribers for the same topic. In case of multiple subscribers, each subscriber receives a copy of the message sent to the topic. Topic based publish subscribe messaging can be called as Broadcasting of TIBCO EMS messages.
Step By Step: TIBCO EMS Topics Publish and Subscribe Messages
Now after giving you enough theoretical understanding of TIBCO EMS topics, lets jump into the tutorial for looking into the stuff practically.
After completing this tutorial you will be able to:
- Create new EMS topics in TIBCO EMS Server.
- Configure JMS Connection in TIBCO.
- Publish JMS Messages to EMS Server topics.
- Subscribe to JMS messages from EMS server topic.
Step 1: Start EMS Server and Create a New Topic:
So we first need to make sure that our EMS Server is up and running. Normally, EMS Server is set to manual start option while installing TIBCO so you need to check it first. Go to the services by typing services.msc in run
As you can see below, EMS Server is started in my case (as I did it by right clicking and clicking on Start):
Now in order to create a new EMS Topic, go to Start–>TIBCO EMS–>Start EMS Administration tool
In the console window of administration tool, first use the command connect and give username and password for your EMS Server.
Once successfully connected, use following command to create a new topic:
create topic topic.ajmal
This will create a new topic with the name topic.ajmal in your EM Server. Now you can use below command to see all the topics currently there in your ems server:
show topics
Step 2: Create JMS Connection:
Now that EMS Server is up and a topic has been created, move towards your tibco designer and create a new project. In the project, add a new JMS Connection by going through Add Resource–>JMS–>JMS Connection
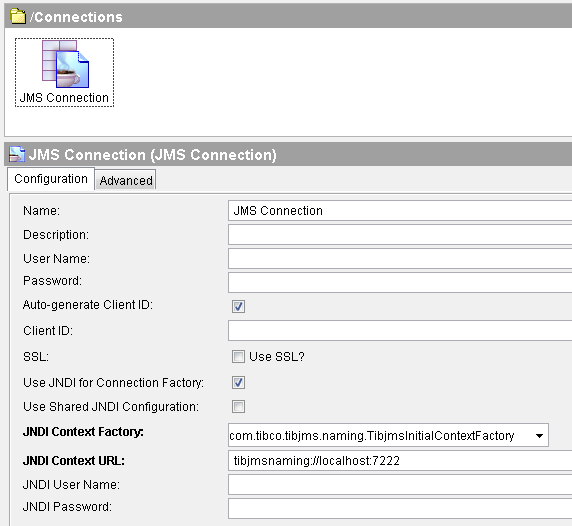
JMS Connection configuration in my case is shown below. Using Test Connection, also verify that connection is successful:
Step 3: Create JMS Topic Publisher Process in TIBCO:
Create a process which will be used to Publish a JMS message to a topic on EMS Server. As I always try to follow the rule “Simple is better”, I’ll keep the processes simple here too.
Our JMS Publishing process will simply publish a Text message to the topic that we created in Step 1. For this purpose, we use JMS Topic Publisher activity in our process.
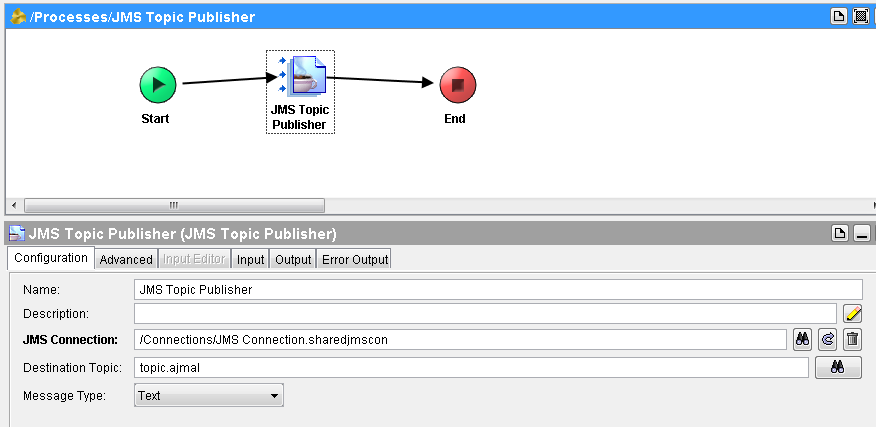
In the configuration of this JMS Publishing activity, specify the connection that we created in Step 2 and choose the topic that was created in step 1.
JMS Topic Publisher configuration will look like below:
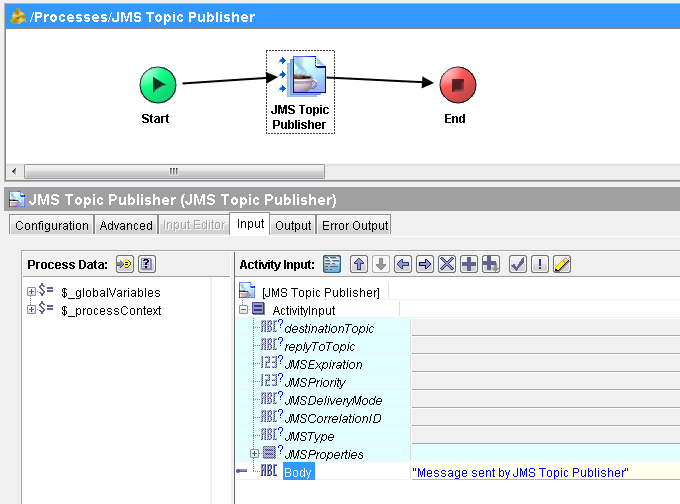
In the Input of JMS Topic Publisher, I will be publishing a simple Text String towards the EMS Server topic as seen below:
Step 4: Create JMS Topic Subscriber Process in TIBCO:
Now let’s move towards the receiving end. We have our process for publishing to EMS Server ready. Now we need to have a subscriber process. Create a new process and in this process, use JMS Topic Subscriber as a starter activity.
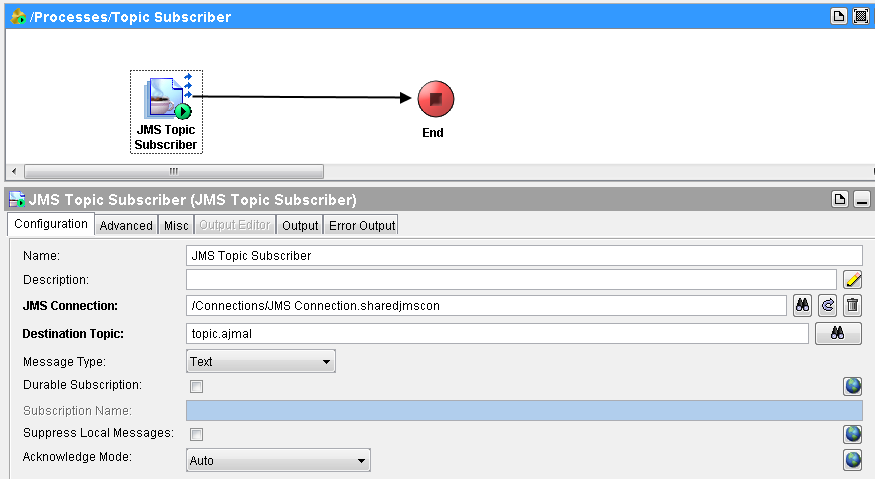
In the configuration tab of this JMS Topic Subscriber activity, specify the JMS connection and also the topic to which this activity will subscribe.
Configuration tab of JMS Topic Subscriber will look like below:
That’s it for now as we are going to simulate just how messages flow between publishers and subscribers with EMS Topics. We are not going to add any other logic or any other activities in our processes to keep the story simple and easier to grasp.
Step 5: Test TIBCO EMS Topic Publisher and Subscriber:
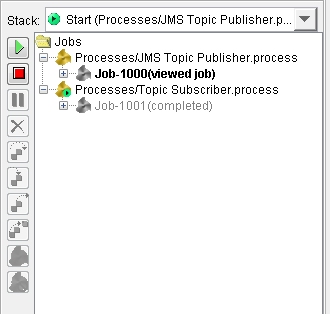
Load both Publisher and Subscriber Processes in designer tester and start a new job for the publisher process.
Wow, both processes have run successfully. This means that publish subscribe mechanism has worked for us.
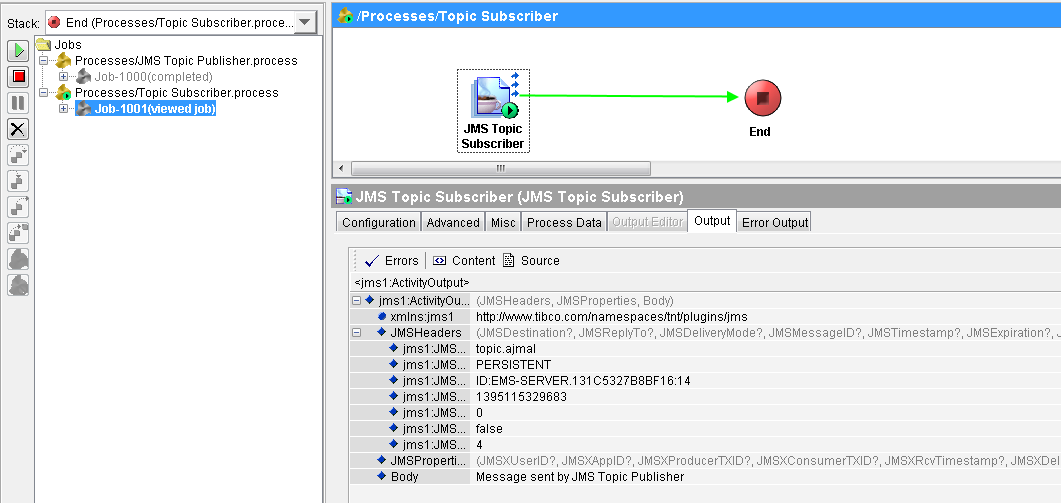
Now let’s go to our subscriber process in tester and verify that it has received the message correctly from EMS Server topic.
As you can see in below screenshot, Output tab of JMS Topic Subscriber shows that message has been subscribed and received successfully:


Hi,
How can i make Topic as durable in EMS.?
Regards,
Sagar.
Good article!
Durable means it is only for topics right. you can see jms topic subscriber configuration, one checkbox is there you can enable that one
Yes Balaji. Durable subscription is for Topics only. There is no such thing as durable consumer for any queue 🙂
Hi Ajmal ,
The above mentioned details are developed in bw 6.3 ,
but i got the following error
ERROR [Job_Executor0] c.t.b.s.r.c.SharedResourceModulePropertyTracker – TIBCO-BW-SR-FRWK-502000: Failed to stop SharedResource [ems.JMSConnectionResource] for Module [EMS:1.0.0.qualifier], DeploymentUnit [EMS.application:1.0].
java.lang.NullPointerException
18:09:30.225 ERROR [Job_Executor0] com.tibco.thor.frwk.Application – TIBCO-THOR-FRWK-600026: Failed to start BW Application [EMS.application:1.0]. Reason: TIBCO-BW-FRWK-600053: Failed to initialize BW Component [ComponentProcess].
com.tibco.bw.core.runtime.api.BWEngineException: TIBCO-BW-CORE-500232: Failed to initialize BW Component [ComponentProcess], Application [EMS.application:1.0] due to activity initialization error.
com.tibco.bw.core.runtime.ActivityInitException: TIBCO-BW-CORE-500408: Failed to initialize the ProcessStarter activity [JMSReceiveMessage] in process [ems.Process], module [EMS] due to unexpected activity lifecycle error.
java.lang.NullPointerException
18:09:30.256 ERROR [CM Configuration Updater (Update: pid={http://xsd.tns.tibco.com/bw/models/sharedresource/jms}JMSConnectionFactory.523fc9c6-79e0-4767-9838-6546bec7afdc)] c.t.b.s.r.c.SharedResourceModulePropertyTracker – TIBCO-BW-SR-FRWK-502000: Failed to stop SharedResource [ems.JMSConnectionResource] for Module [EMS:1.0.0.qualifier], DeploymentUnit [EMS.application:1.0].
java.lang.NullPointerException
can you please help me?
Thanks in adv
Ancil
i could’t connect to jmsconnection resource , please give those details for tibco bw 6.XX
Hi sir,
Can i know what remaining purged message in wait for jms queue.
Pingback: Top tibco eai New Update - #1 The website provides the latest general information