TIBCO ActiveSpaces is a TIBCO application that provides a distributed in-memory data grid for an increase in performance by reducing reliance on costly transactional systems.
TBCO ActiveSpaces is a right choice to use when you have complex environment with a huge flux of data and you have to go for large number of database operations. With use of ActiveSpaces, performance can be increased greatly as in-memory data access is very fast as compared to a disk stored database access.
In this step by step tutorial, I will explain how we can use TIBCO BW Plugin for ActiveSpaces to store data to ActiveSpaces. You must have ActiveSpaces software and ActiveSpaces Plugin for BW already installed in order to proceed with this tutorial.
Step 1: Create a Metaspace using ActiveSpaces Palette
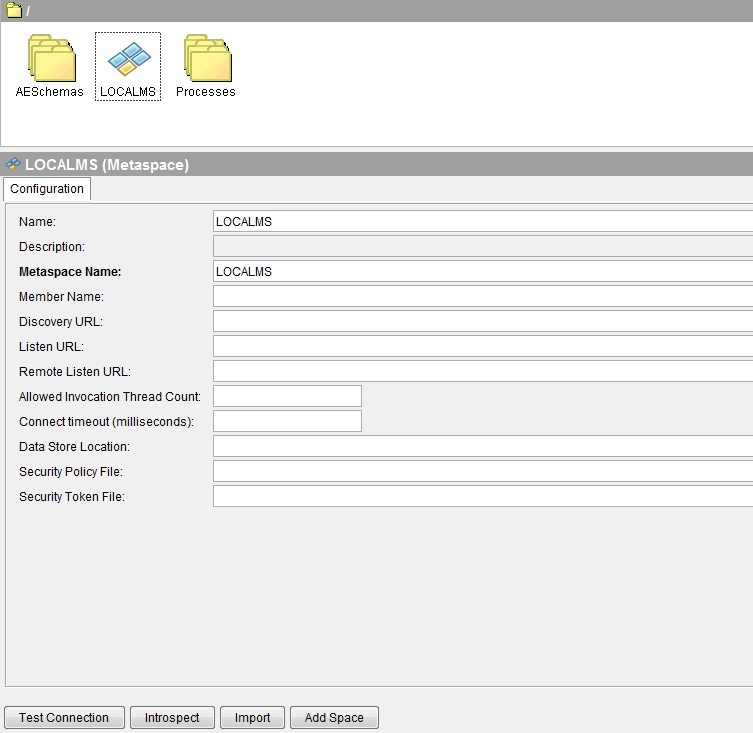
All the spaces which store in-memory data tuples are contained in a Metaspace. Once you have TIBCO ActiveSpaces Plugin installed in BW, you can find Metaspace shared resource activity in the ActiveSpaces Palette.
Drag the Metaspaces activity into your project and give it some name as shown below:
Now we need to test connectivity of our metapsace by clicking on Test Connection button. As you can see in the screenshot below, we are connected successfully with metaspace:
Step 2: Add spaces to the Metaspace
Once we have a metaspace created and connectivity tested, we need to add spaces inside metaspace which will be used to store in-memory data tuples. Double click on the metaspace that you created in Step 1 and then add a new space. In this example case, I have added a space with the name TestSpace having two String fields as you can see in the below diagram:
In the Key tab, specify a field to be used as a key. In my case, I am using Name as the key:
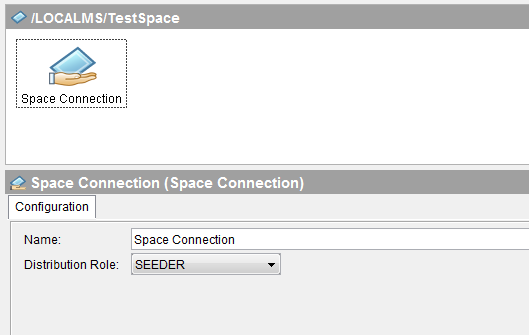
Double click on the Space and then add a Space Connection ash shown in the diagram below:
Step 3: Create a TIBCO Process to Put Data to ActiveSpaces Space
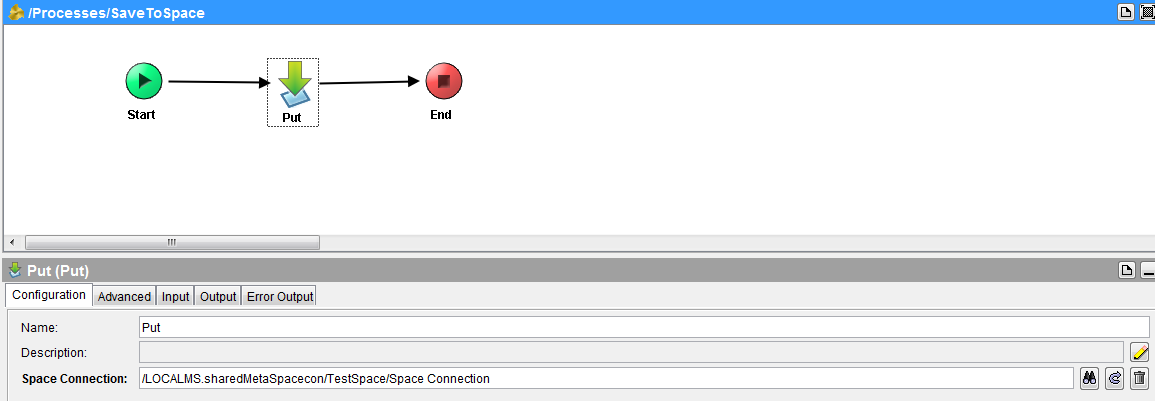
In this step, we are going to create a designer process where we will use Put activity from the ActiveSpaces palette to store data tuple to in-memory data grid of the space created in the previous step.
In the Configuration tab of Put Activity, choose the Space Connection that was created in the previous step. Configuration will look like below:
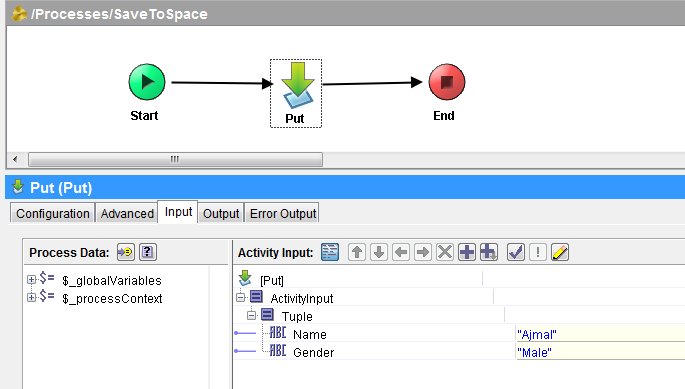
In the Input Tab of Put activity, we need to specify the input values for the tuple. In this case, I am hard coding the values for this tuple as shown in the below screenshot:
Step 4: Test TIBCO ActiveSpaces Put Process Using Designer Tester
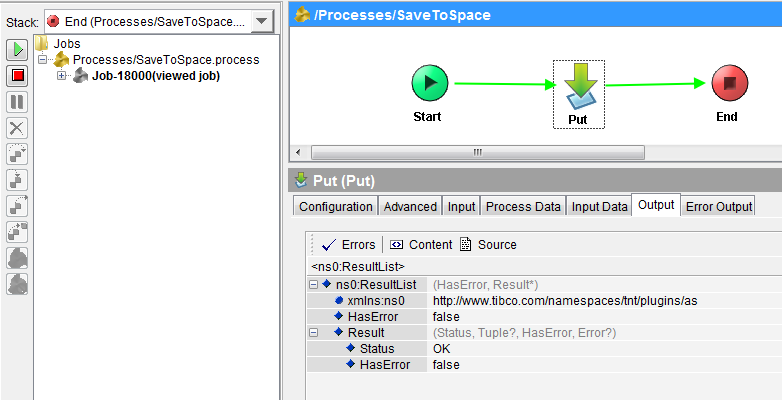
Our configuration and process development to test ActiveSpaces Put operation is now ready. We can now proceed towards the testing part for this simple process. Load the process in designer tester and run it.
As you can see in the below screenshot, process has run successfully and the tuple has been added to the space:
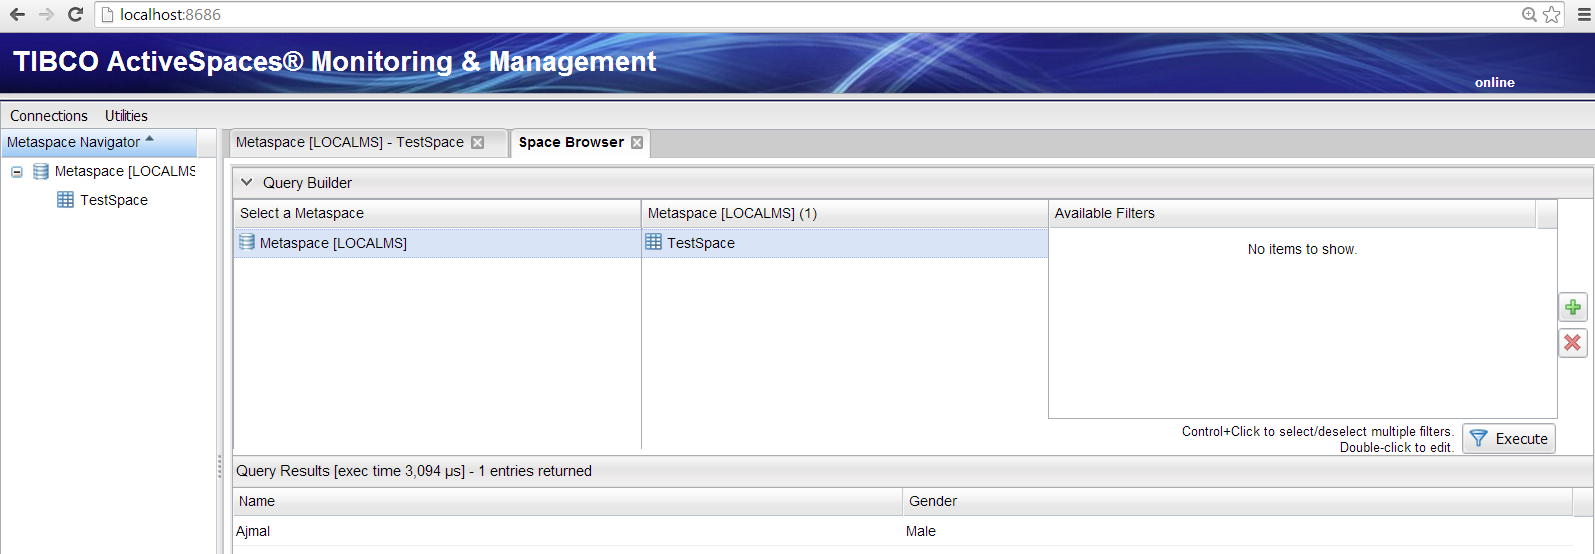
Now, go to ActiveSpace Monitoring and Management and there you can see that the tuple has been added to the space as you can see in the screenshot below:



Pingback: TIBCO Activespaces Get Tutorial: How to Get Data from Activespaces in BW Process | Tibco Guide
Hi ,
I Am Getting an error after testing the Put process definition:-
BW-AS-100001 Job-10000 Error in [Add_Tuple_To_AS.process/Put]
com.tibco.as.space.ASException: SYS_ERROR (metaspace_already_exists – name=####)
caused by: com.tibco.as.space.ASException: com.tibco.as.space.ASException: SYS_ERROR (metaspace_already_exists – name=####)
Caused by: com.tibco.as.space.ASException: SYS_ERROR (metaspace_already_exists – name=####)
close the designer and restart
Disconnect from metaspace and connect again, post that your transaction should go…
Thanks,
Alam
could anybody tell me how do we configure the url for the active space monitoring and management.